Best Tips for Painting Concrete Floors: A Step-by-Step Guide
-
August 6, 2025 10:04 PM PDT
If you're looking to upgrade your home or garage, painting your concrete floor is a great way to give it a fresh and clean look. A painted concrete floor can make a big difference in both appearance and durability. With the right tools and steps, you can do it yourself and enjoy long-lasting results.
In this article, we’ll guide you through the best tips for painting concrete floors—even if you're a beginner. From surface preparation to paint selection and final sealing, everything you need to know is here in one place.
1. Start with a Clean Surface
Before you pick up a brush or roller, your first step is to clean the floor. Concrete attracts dust, oil stains, grease, and dirt. If you skip cleaning, the paint won’t stick properly and may peel over time.
-
Use a broom or vacuum to remove dust and debris.
-
Apply a degreaser or concrete cleaner to remove oil and stains.
-
Power wash if necessary, especially in garages or outdoor areas.
-
Let the floor dry completely—this might take 24–48 hours.
Remember, clean concrete is the key to a strong and smooth finish.
2. Repair Any Cracks or Damage
Small cracks or holes in your concrete floor can lead to uneven paint and a rough look. Take time to fill and smooth any imperfections.
-
Use concrete patching compound to fill cracks or dents.
-
Allow patches to dry as per instructions (usually several hours).
-
Sand down the patched areas so they are flush with the rest of the floor.
Don’t rush this step—fixing damage now means a cleaner, more professional result later.
3. Etch the Surface for Better Adhesion
Etching helps the paint grip better to the surface. It opens up the pores in the concrete, making it rougher and easier for paint to bond.
-
Use a concrete etching solution (follow safety instructions).
-
Spread the solution evenly using a mop or sprayer.
-
Let it sit for the time listed on the product label, then rinse well.
-
Allow the floor to dry completely again before moving on.
Etching is especially important if your concrete is smooth or sealed.
4. Test for Moisture
Painting over damp concrete can cause bubbling, peeling, and poor adhesion. Even if the surface looks dry, there could be moisture underneath.
Try this simple test:
-
Tape a piece of plastic (about 1 foot square) to the concrete.
-
Leave it for 24 hours.
-
If you see condensation on the underside of the plastic, wait longer before painting.
In areas with high humidity, using a moisture-blocking primer can help prevent problems.
5. Choose the Right Paint
Not all paints work well on concrete. Make sure to buy paint that is specially made for concrete floors.
Good options include:
-
Epoxy floor paint (durable and moisture-resistant)
-
Acrylic floor paint (easier to apply, but less durable)
-
Urethane-based coatings (great for high-traffic areas)
Some paints come with a built-in primer. Otherwise, apply a separate concrete primer before painting for better results.
6. Use the Right Tools
Using the correct tools will make the job easier and give a smoother finish.
You’ll need:
-
Painter’s tape
-
Paint roller with extension handle
-
Angled brush for corners and edges
-
Paint tray
-
Drop cloths to protect nearby surfaces
For garages or large rooms, you may want to use a paint sprayer for even coverage.
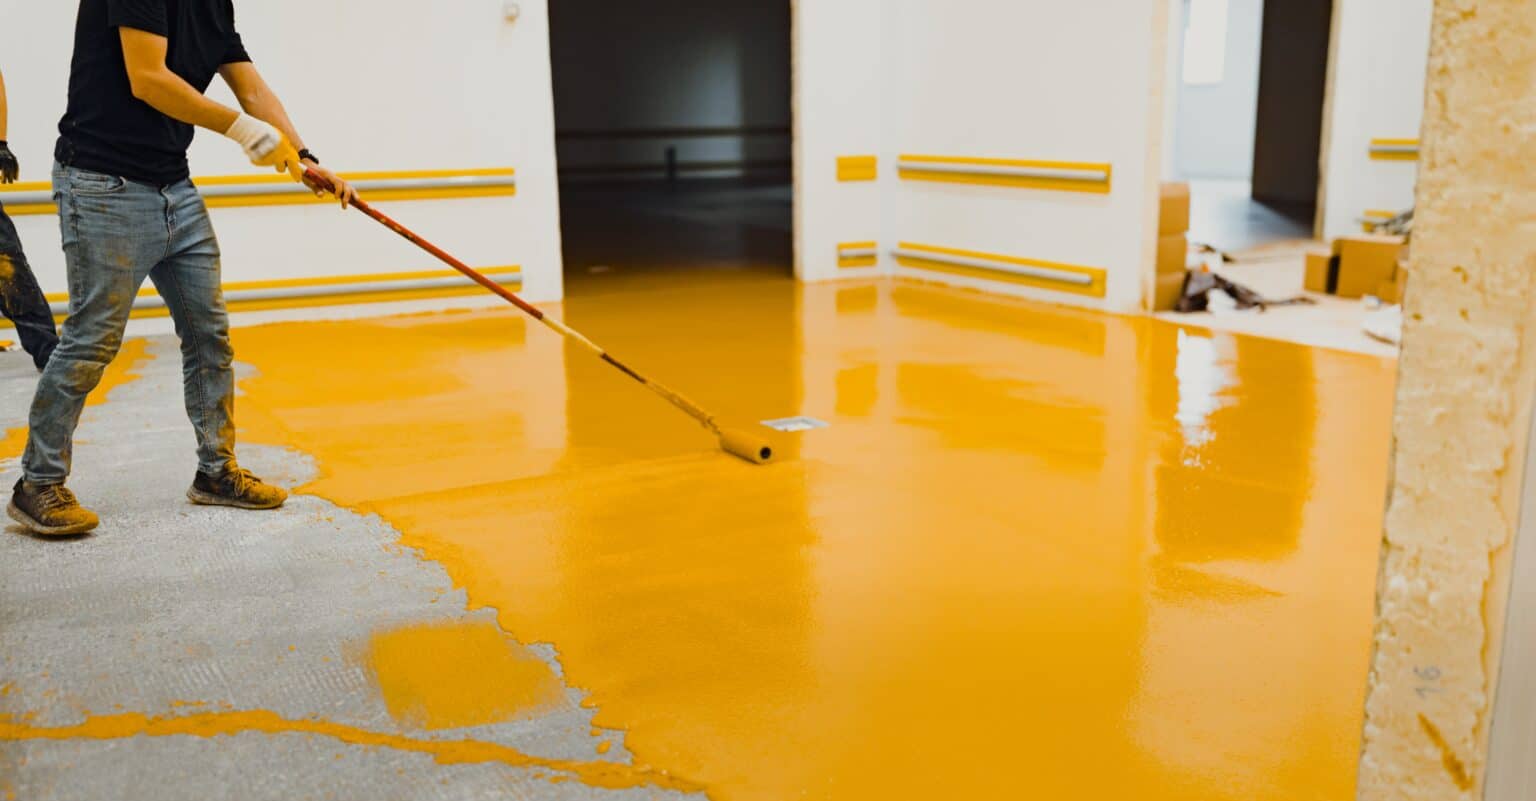
7. Apply Thin, Even Coats
Now it’s time to paint!
-
Start with the corners and edges using the angled brush.
-
Then, use the roller for larger areas.
-
Apply thin coats and allow each coat to dry before adding another.
-
Most floors will need 2–3 coats for full coverage.
Make sure you paint in one direction to keep the finish even.
8. Let It Dry and Cure Properly
Drying and curing are different. While paint may feel dry to the touch in a few hours, it needs more time to cure fully and become durable.
-
Allow 24–48 hours before walking on the floor.
-
Wait up to 7 days before placing furniture or cars on it (especially for garage floors).
-
Keep the area well-ventilated during this time.
Being patient during the curing process ensures your paint lasts longer without peeling or damage.
9. Seal for Extra Protection
A sealer helps protect your painted floor from scratches, spills, and wear. This is especially useful for high-traffic areas or garages.
Choose a compatible sealer based on your paint type:
-
Water-based sealers for water-based paints
-
Solvent-based sealers for oil or epoxy paints
Apply the sealer using a clean roller and follow the instructions on the label.
Final Thoughts
Painting your concrete floor might seem like a big job, but with the right prep and products, it’s absolutely doable. A well-done painted floor not only looks great but also lasts for years with minimal maintenance. Whether it’s your basement, garage, or patio, take your time, follow these steps, and enjoy the transformation.
-